Moode Audio Player Install and Review
Moode Audio
As I looked around my house, I was astonished to realize that nearly everything was either a soundbar or Bluetooth-enabled. Around this time, my interest in Raspberry Pi was also growing, and I started envisioning replacing these 'smart' home speakers that were devouring my personal data, considering the minimal use case I had for them. Asking 'Hey Google, what's the weather?' just didn't seem worth the overall cost to me anymore.
Anyway, during this process, I stumbled upon an application called Moode Audio. I had tried three different ones that I won't mention because, in my belief, Moode is the coolest and most awesome of all of them. I committed to it, and it's what I will be using
Moode Audio is basically a really nice web UI to the linux MPD, its important to note that Moode is a Music sever.
What You will need:
Raspberry Pi 3 Model B+ or Pi4 (but Pi 4 is fairly overkill for this)
microSD (I think 8GB is the minimum) how big you use is dependent on how much music you want to store locally on the sever.
a way to image the microSD. I use different ones for different use cases. For this article I will be using Balana Etcher.
In this example, I will be using a Pi 3 B that I have been waiting to use for a Mycroft AI project.
One thing to note: because Moode Audio is designed to be headless, the easiest way to set it up is to have a network cable handy and access to a DHCP port on your router. You can connect to Wi-Fi after, but to set up the server its easier just to get DHCP address right away so you can access the Web GUI for setup. Also you will want to connect direct to a monitor and keyboard to setup your user and password, after this is complete you can proceed with the web-config. You actually could just connect your display and keys, and connect to wifi with raspi-config I suppose, however this is the way I know it works so this will be the way I will present.
- Head on over to https://moodeaudio.org/ and grab the latest image
- Image your microSD with whatever image app suits you
- Once the image is complete, insert it into your Pi, plug into your router, display and keys, then and boot-er-up
- Once booted you will be prompted for username and password, once completed Moode Audio can be configured entirely by the WebGUI
- Log on to your routers interface and wait for your Pi to get a DHCP Address
- Once you know it, simply type the IP in a web browser http://yourip
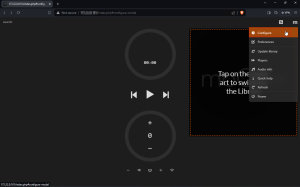
You will be presented with the below screen
The next steps are order of preference, however I like to connect my NAS share first and get all of Moode configured the way I like, then connect to Wifi after all music libraries have been updated. Below are screens of the config, I will add info if I think is interesting or necessary, the configuration is basically dead simple.
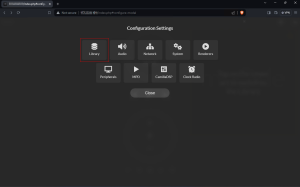
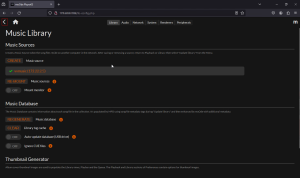
Click Library.
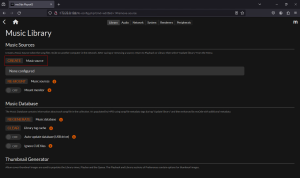
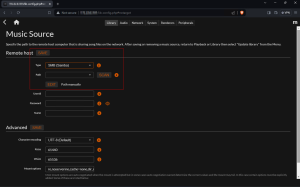
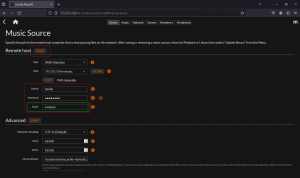
Create a music source, in my case its a Windows NAS share, so I choose SMB.
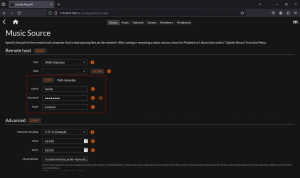
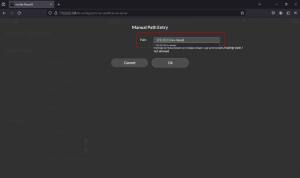
Also to note I am not sure if you need to pre-populate the creds to your share, but its what I do. Depending on your network and your creds, you might be able to hit "scan" and it work, but in my case I edit the path manually. I have not tested all scenarios.
Once path is added give the remote host a name. I suggest picking something that is generic that can be used across multiple Moode players.
Hopefully you get a green check mark. Once its added Moode will say you need to update your library. Use the arrow at your top left to go back to the main screen.
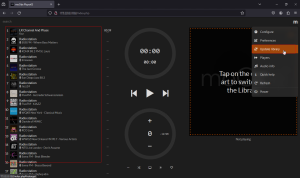
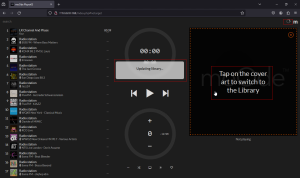
Click the "M" in the top right, and select "Update Library" Also notice that Moode is prepopulated on the left with a ton of radio stations (very cool).
You will see "Updating Library" , also note the "Tap on the Cover" message, this is something that threw me for a loop when I first started using Moode but its a main navigation element.
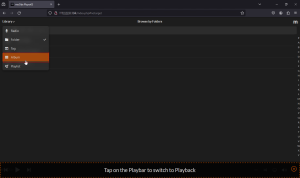
Once the Library stops doing the spin thing, click the "Library" dropdown on the upper left.
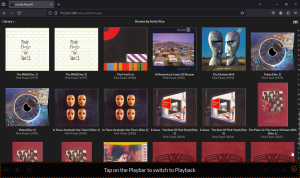
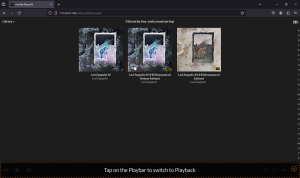
You will see that you now have a library of music, it will default to folder, but I tend to like to browse by album.
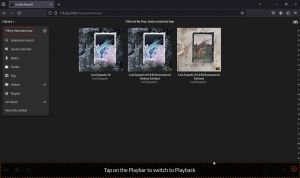
Searching is in the same interface you can search my album,song, tags etc.
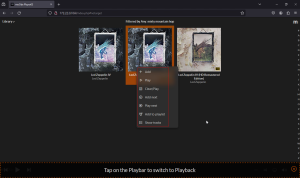
Click on the three dots to bring up the sub menu.
This menu is pretty self-explanatory I suggest playing around with the options
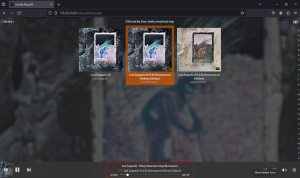
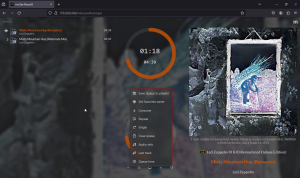
Once a song is playing click on the play bar and you will be taken to the queue view.
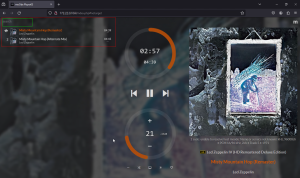
Clicking the three dots, on the control interface brings up a sub menu, also note the search on the upper right becomes bound to the queue in this view.
That's the basics of installing and adding your personal music collection to Moode Audio. The next thing I would do is connect to Wi-Fi.
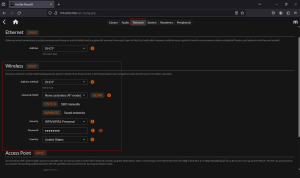
Click the M upper right and choose configure, and network. The above if fairly standard fare.
Once this is complete you have a headless sever on your network with high quality audio output, that you can pair to many things, and in many ways.
I have one of them is just using headphone output to a pair of Creative Pebble 2.0 USB-Powered Desktop Speakers, this turned out far better than expected as a single power adapter solution, very clean and solid sound. I would imagine if you don't have solid power to your Pi it might not be able to support the USB powered speakers, but in my case has been working flawless.
My second Moode-Pi is using a 7 inch touchscreen, paired to a InnoMaker Raspberry Pi HiFi DAC HAT PCM5122, and Fosi Audio BL20A 200W amp. I have a short vid of that setup below.
Its a pretty potent setup, I am very pleased with the sound quality.
When I first started using Moode, I didn't immediately see the benefit of this server-type system. However, after setting up a couple and replacing the data-sucking 'smart' clutter, I'll never go back. No apps on the phone, no data vacuuming, no accounts—just music, with quality sound. Additionally, I also have Jellyfin or Finamp for my phone, one cool note, because Jelly and Moode use m3u playlists its a simple text file find and replace to use playlists created on Moode into Finamp. However, using a phone for streaming music at home is a game of charging, Bluetooth compression, dealing with various apps, and managing battery.
I would say that after years of being tied to smartphone 'app' interfaces, it took some getting used to a web interface again. On smartphones and tablets, I basically just save the link to my home screen and, really, there is not much difference. Moode does not really have a 'suggested' or 'people who listen to this also listen to this' type of feature. However, it does have tags and genres, which seem to work okay depending on how your media is organized. Also, it tends to have some issues sometimes matching the cover art, but to me, these are all minor things considering the other features Moode brings; although I cannot delve into all of them in this specific post, maybe in the future. I have learned that as I build my playlists, the queue is my friend, and I honestly appreciate the fact that I have to be a bit more hands-on in organizing my media. There are many good built in streaming radio stations that you can favorite and you can also get streams from other sources and import them.
As a hardcore audiophile and geek, I really cant find a negative to Moode and I am glad I ran into it, and I have a bunch more use cases in mind that I will do the blog thing when I work them out.
Power to the Moode!
Enjoy the tunes !
